Why should you use categories? Categories in Cloud Campaign are a great way to organize the content in your library and automate your posting schedule based on your chosen cadence. For example, if your client shares a food-themed post every Friday, you can create a category called "Foodie Friday" to organize the content in your library and while filling your automated schedules. For more information about automated schedules, check out this article.
Access the Content Library via the left-hand side menu.

Click "Add/Manage" to add new categories, or delete existing ones.

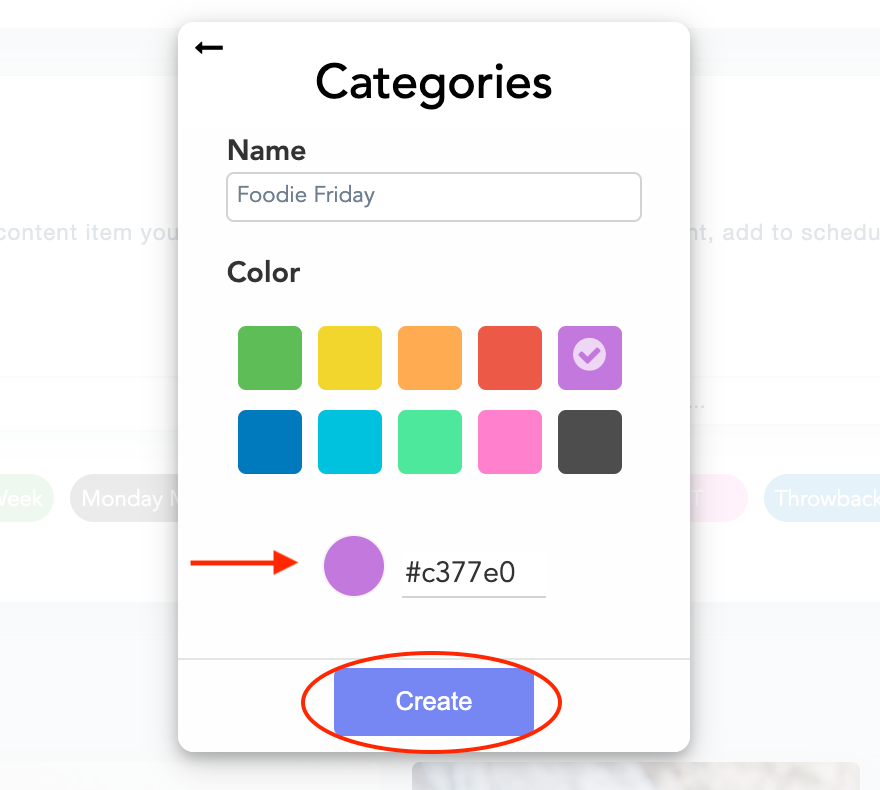
Give your category a name, select a color for it, and click "Create." You can add a custom color by clicking the blank color option below the color palette and selecting a color from the color wheel pop-up.
You can now view your category from the Content Library.

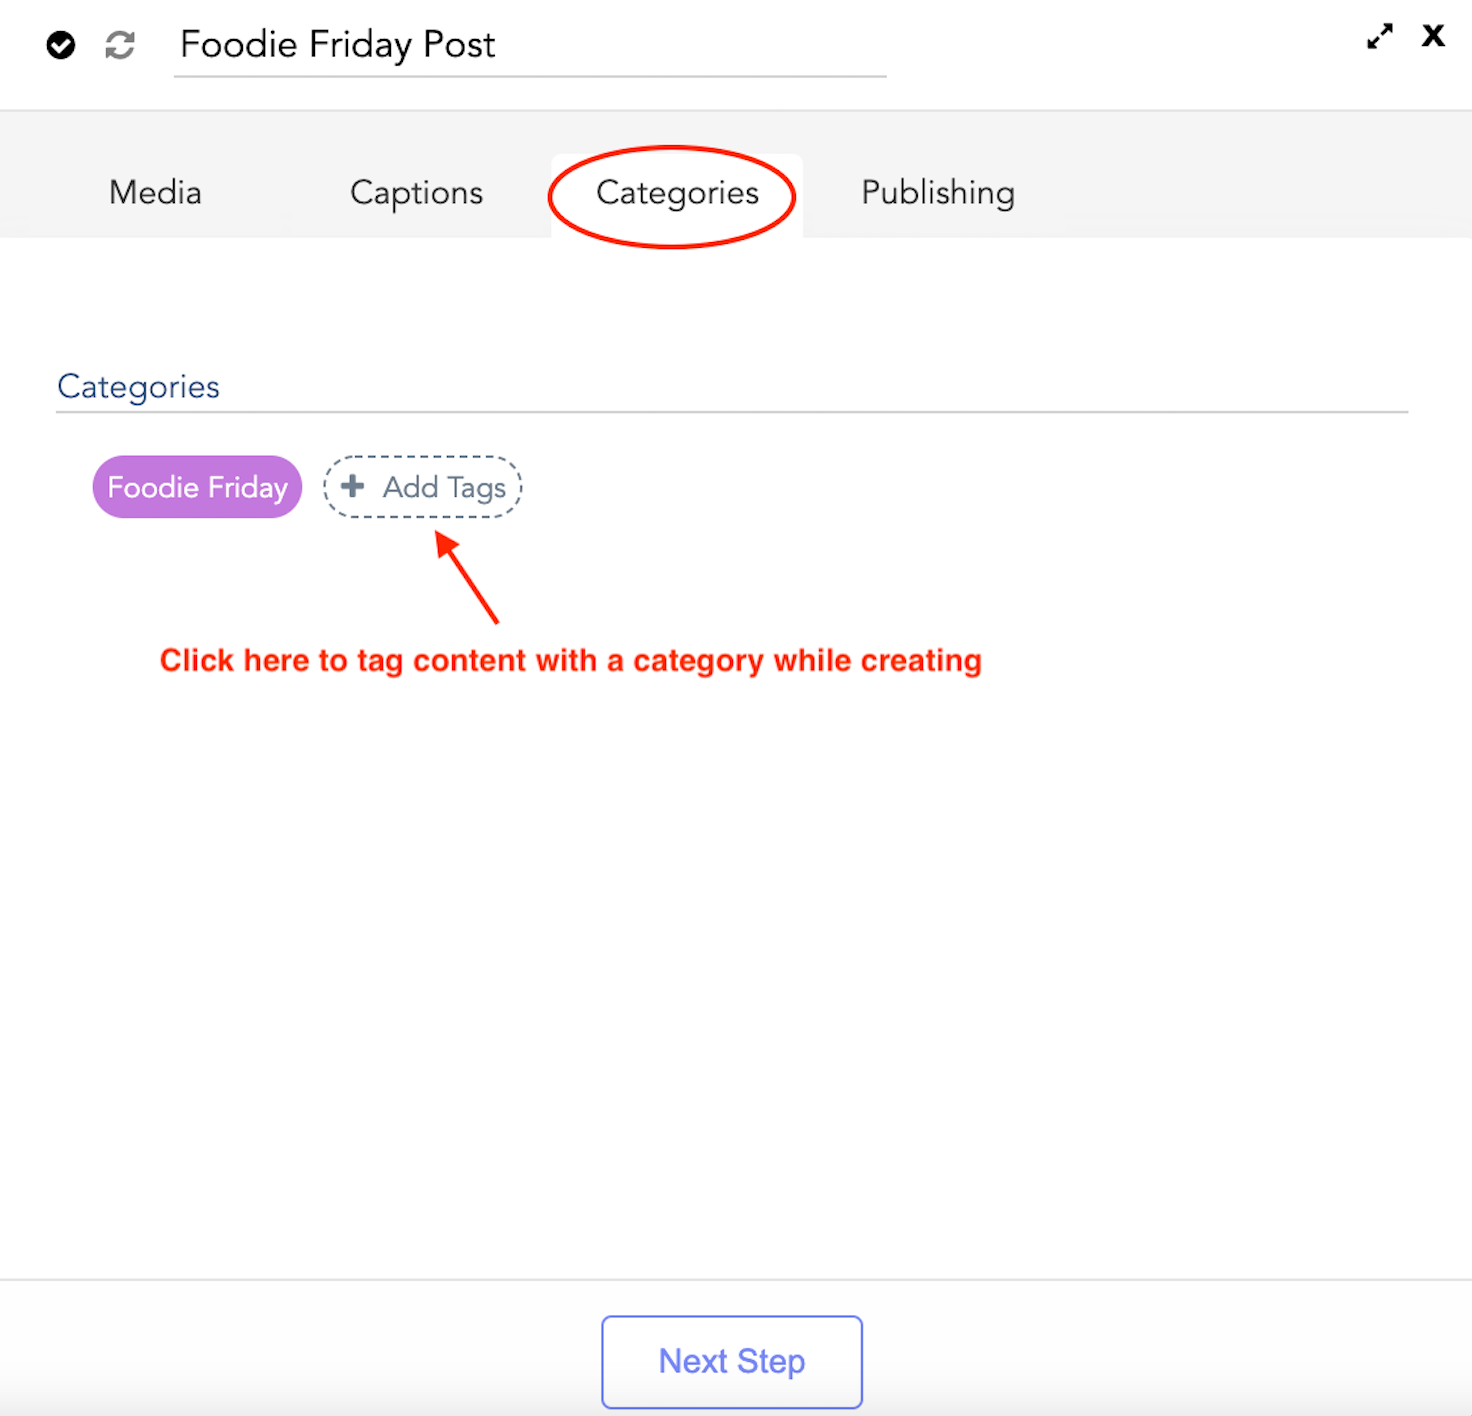
As you create new content, be sure to tag items with a desired category, which you can do under the "Categories" tab.
Once your content is saved with the category, you can now see the corresponding color appear on the content in your library. Click the category to filter content by that category.


That's it - happy organizing!