Marketing is a collaborative process -- we get it! That's why Cloud Campaign has built-in content approvals.
Requiring Approval
You can require approval on a per-brand basis or for individual posts.
To require approval for all new posts
Navigate to the Publishing tab in your Brand Settings and toggle on Require Content Approvals. Click Save.

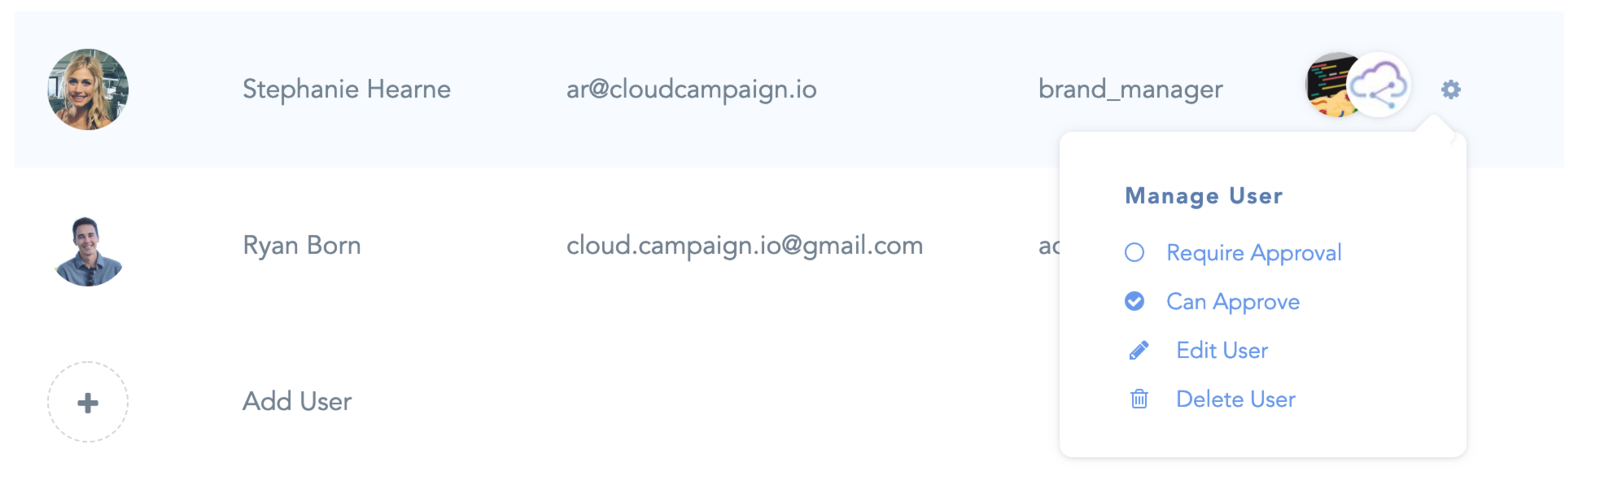
To require approval for content created by certain users
Navigate to your Account Settings and hover over the gear icon next to the user that will be creating the content. Click 'Require Approval'
To require approval for an individual piece of content
Navigate to that specific content item and click the checkmark in the top left corner to toggle the approval.

Why use approvals?
You can schedule content ahead of time and the content will not be posted until it has been approved. No more switching back and forth between your scheduler and Google Sheets or emails.
Creating a New Approval:
Navigate to the Approvals tab
Click 'New Approval' in the top right
Give the new approval a title, description, and select the content that you want to be approved. Note: When selecting the content, you can select by either category or individual content items.

Sending the Approval to Your Client
Once you create the new approval, it will generate a link you can share with your client via text, email, Slack, etc...
The live approval sheet is mobile friendly and your client doesn't need to be logged in meaning they can approve the content from their phone while at their son's soccer game 😊.

content-approvals-client-side-transparent.png
If your client leaves a comment on any of the content in the approval sheet, you will receive a notification in your Cloud Campaign dashboard.
Updating the Content Approval
You can edit the content approval at any point and the changes will automatically be made on the approval sheet your client has. Meaning, you can edit the title, description, choose new content or even edit the content itself.
To add new content or remove content
Click Edit Approval from the Approvals tab in your dashboard.

Click Select Content and choose the new content to add to the approval or remove content.
The approval sheet you already sent to the client will be automatically updated with the new content.